What does it take to (successfully) sell your art?
In the age of digital art, I think it’s still really special to be able to hold a tangible version of your artwork or your favorite artist’s work in your hands. Maybe you've considered selling your art in the form of tangible products too! But what goes into successfully selling your art or character designs as a stand-alone product or as collectible merchandise?
For almost a year now, I've sold, and shipped a package with multiple pieces of physical art merch every month. It’s called Biko’s Backpack, it’s one of my Patreon tiers, and by the time the year is over, I’ll have made about 50 pieces of art products altogether (and yes, our inventory closet does require a compass and machete to get through, thank you for asking). The Backpack rap sheet includes trading cards, stickers, hard enamel pins, prints, keychains, etc. Maybe you've even received these items in your mailbox! (Psssst! Thank you!)

In today's post, I'm walking you through this process.
I'm sharing a behind-the-scenes on what it’s like to create and sell your own art merchandise, the pros and cons of doing it yourself, helpful insights on how to get started, and straight talk about what you can expect in terms of sales.
So let's do this. After all, I already want a collectible enamel pin of your character to don on my backpack!
Watch this week’s video:
This process starts with creating work that you want to replicate. And for me that’s generally going to be digital art. Everything I create is in Procreate on the iPad Pro, and while I use Photoshop, it’s very infrequent and never for drawing.
So first bit of advice: be aware of your resolution— AKA, dots per inch. I like to try and work in a higher resolution than I’m actually going to make, just in case (about 300 dpi is a good rule of thumb). So for example, if you’re trying to make a 3” sticker, and your document is a 3” 72 dpi document, it’s going to be really pixelated.
Another thing to keep in mind: most printers want things to be in CMYK (that’s a print color mode) and a lot of RGB colors aren’t visible in CMYK. You also have to consider how things will look when printed or put on something. So for example, a card is just a flat, opaque piece of cardboard. It doesn’t have the luminance boost that a screen does. So be careful that you don’t lose details by going too dark!


My work for this month’s Biko’s Backpack looks like this:

(But I filmed a bunch of our process from last month’s Backpack so that’s what you’ll see for physical products in the video)
In addition to resolution and color, I find that it helps to create for the product you intend to make. So for example, again with a card illustration, it has really helped me to draw with the card in mind instead of just drawing random poses and things. Remember that most printed items have bleed and cut lines, and safe areas, so be careful not to put anything close to the edge that you don’t want getting cut out.

I thought we could talk about pins, since they are a really fun thing that’s become more accessible as of late. For pins, you will likely need to find an overseas manufacturer, and you might have some trial and error finding a good one. Some artists that buy and inspect their pin orders have to toss 20% due to defects (YIKES) I haven’t had to deal with anything that bad so far.
I know what you’re thinking: is there a difference between hard enamel and soft enamel pins? And the answer is a hard yes. Soft enamel is cheaper, but they don’t actually fill in the resin or color to a flat surface. Hard enamel fills smooth, right to the surface. Personally, I would much rather pay extra for the hard enamel look.


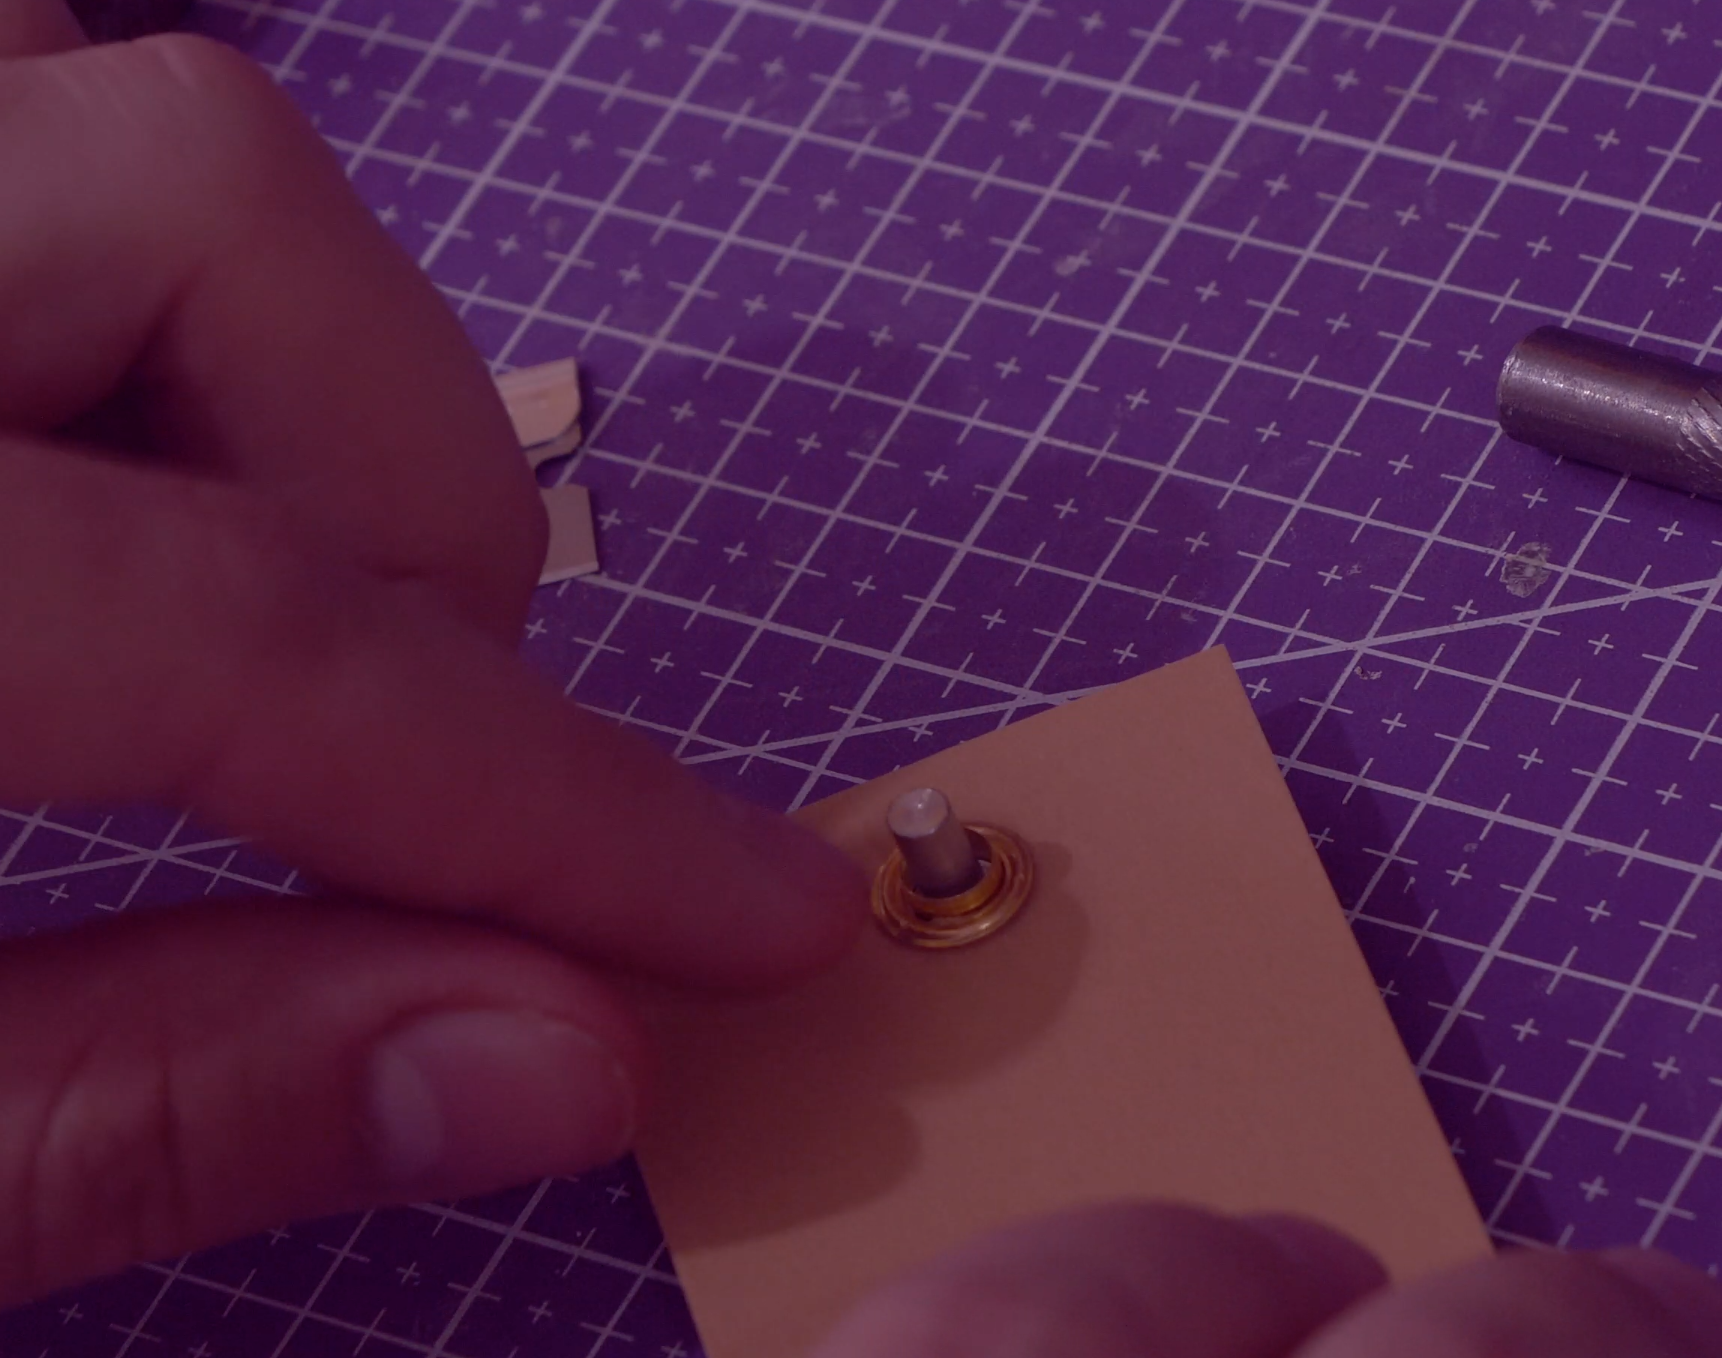
Once we have the pins, I print on a business card, which we punch the pin onto, and then bag it. Et voila!
As a thank you for the warm reception of Tay’s new book, Writing Complete Characters, we included a Story Hearth bookmark in the September Biko’s Backpack. Fun fact: we ended up printing those bookmarks ourselves!
We actually have a good relationship with Epson, who sent over their P700 printer to try out. I have to say, not only does it output at a pro quality, but I can print directly from my iPad. Needless to say, it’s reframed my perspective on printing-from-home instead of using services!
Here is an example of what it can do:
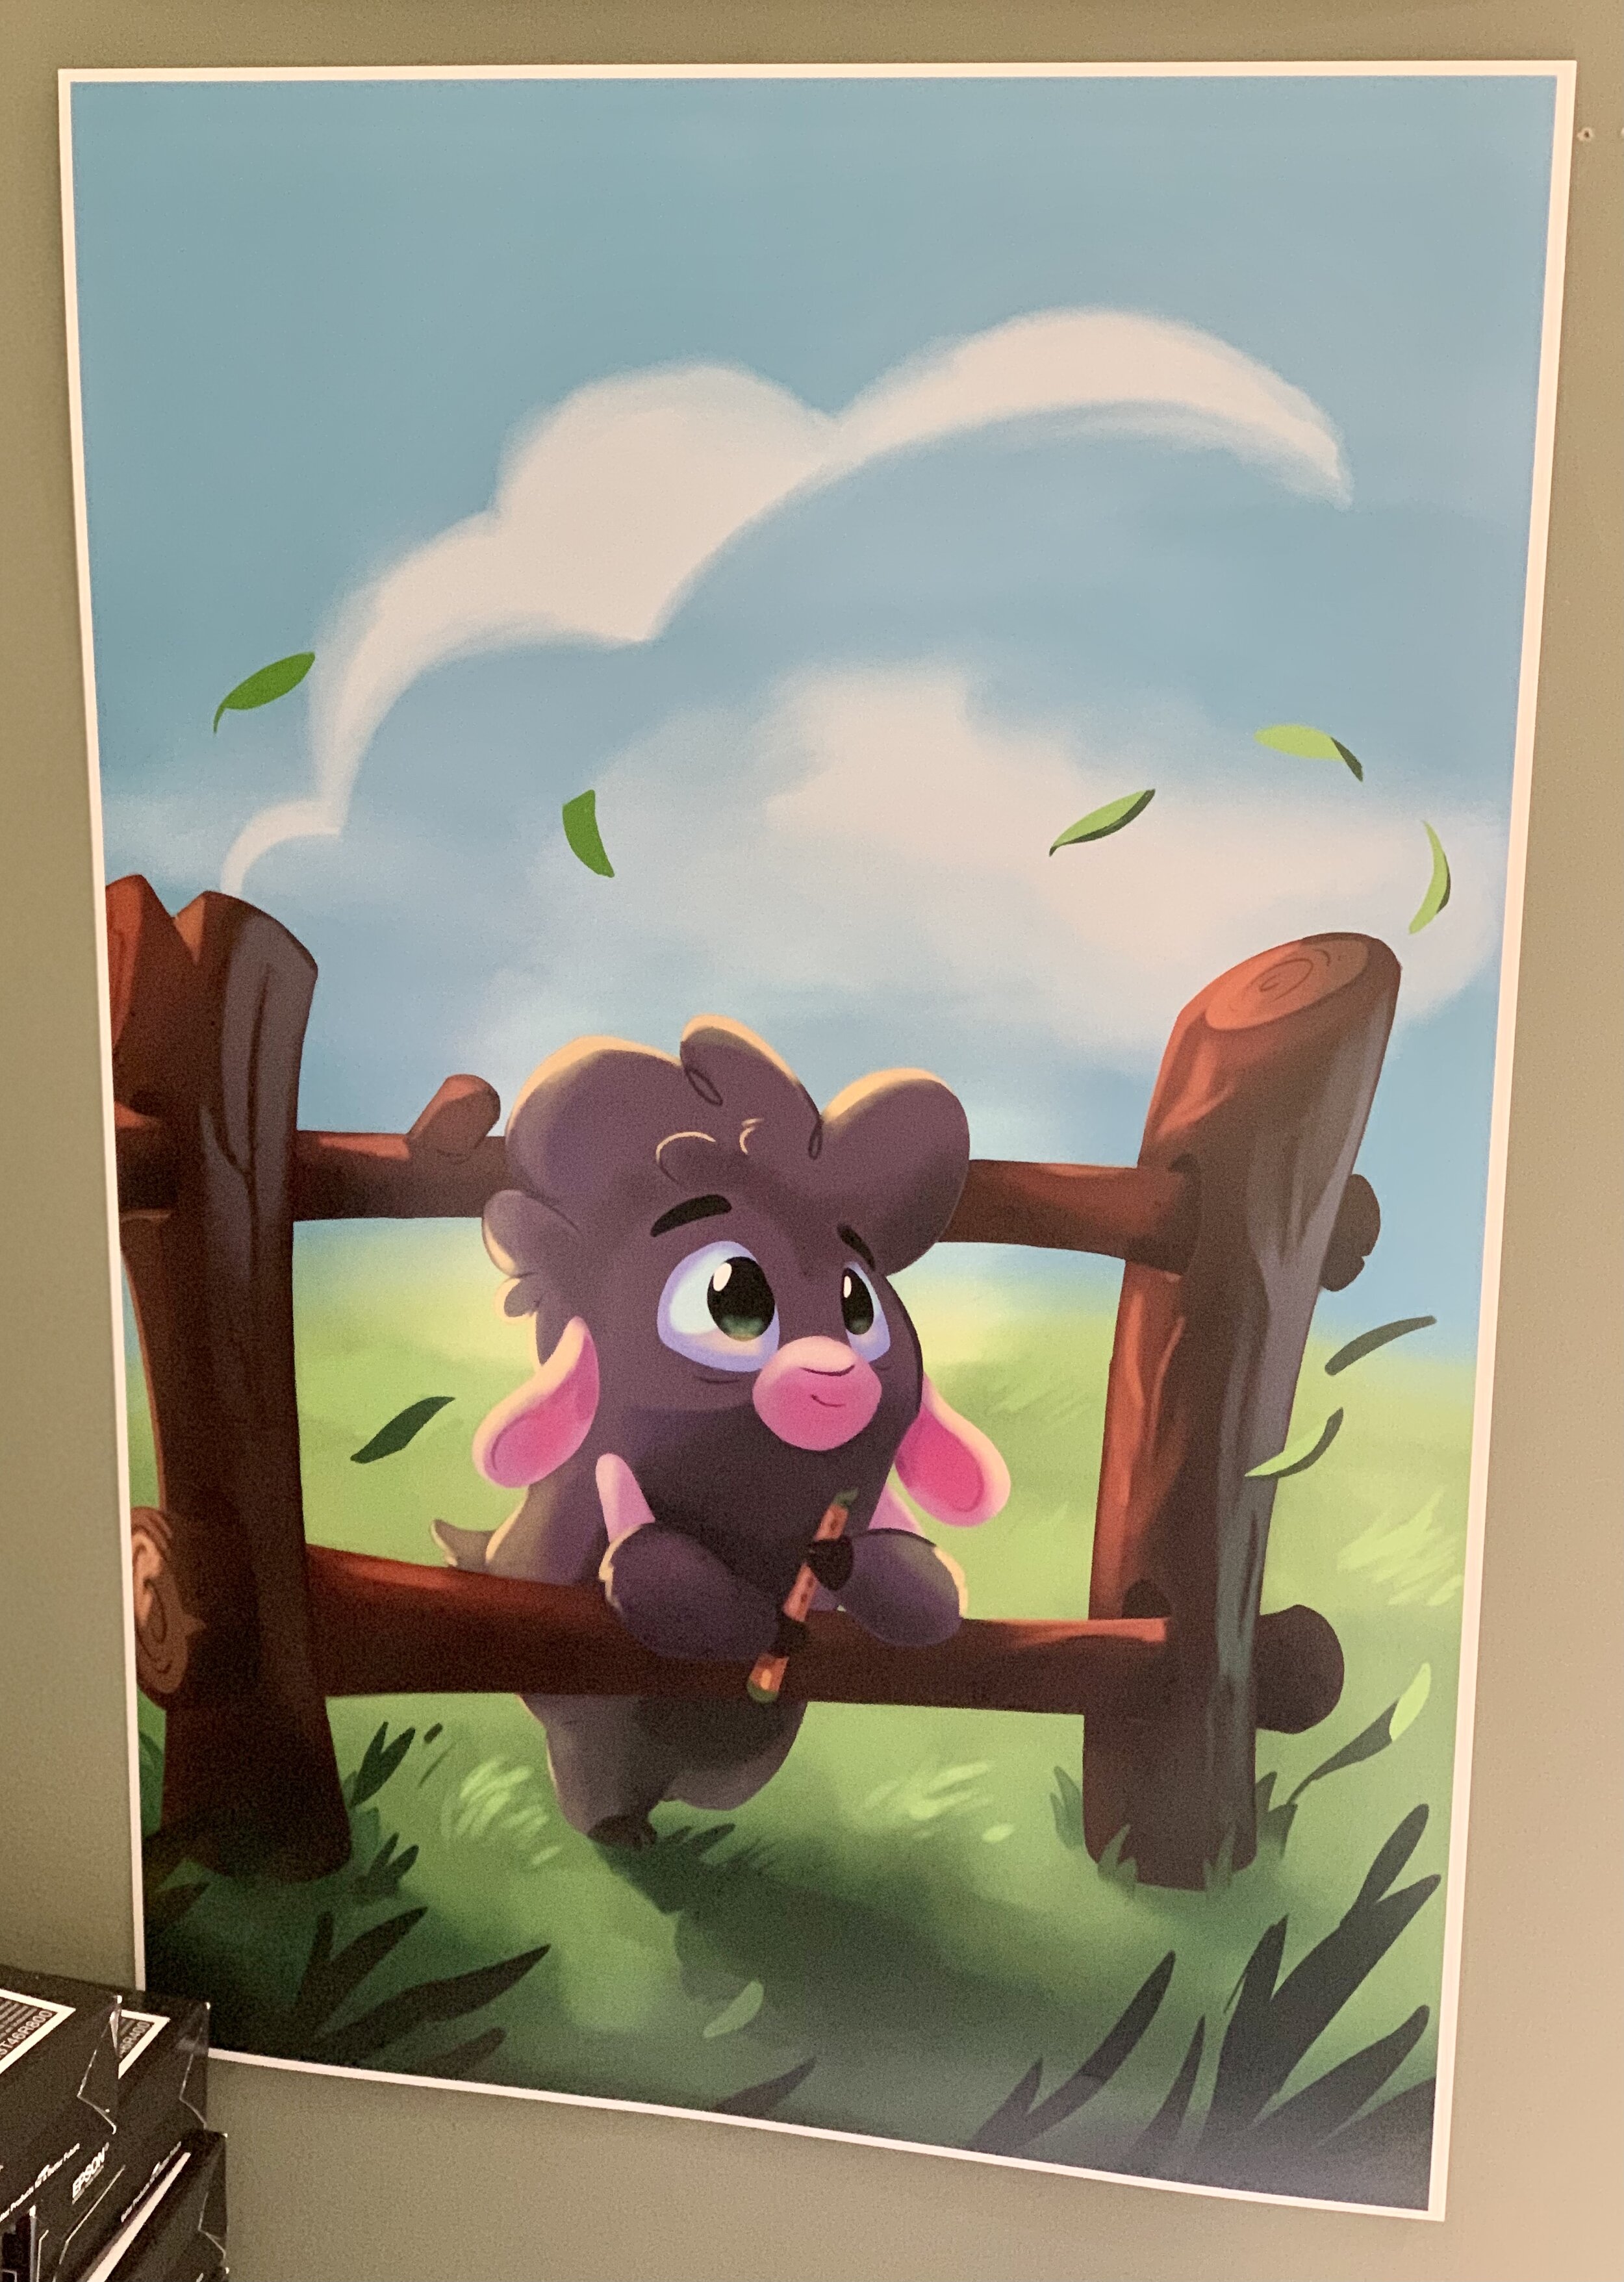
This is a 13x19 print poster. The quality of this picture doesn’t match the excellent quality of the print, unfortunately.
But you can also do smaller runs, you can print only the amount you need to, and again that idea of having something tangible becomes a conceivable concept. We punched holes in the bookmarks ourselves and bought a kit for hammering eyelets on the top, and a bag of tassels for the bookmarks, and hey, they turned out pretty charming. I’m kind of tickled that we did it ourselves, y’know? I mean with all of these products, we assembled this one ourselves with help from the P700. Feels good, man.

Honestly, I think for artists who are looking to fulfill their own print orders, this fits a niche where previously you only had the choice of crappy home printers or gigantic pro printers. Here’s the link so you can look into the Epson P700 printer for yourself and see if it fits your needs.
One other mainstay in the backpacks has been stickers. There are a few suppliers for these, we personally had a lot of success with StickerApp. Just remember to make something that will have a good sturdy shape once it’s cut out. I think when you draw for a sticker you want to keep that “cut shape” in mind, and if you need to, make something that looks nice with a white or metallic outline.


Of course this process isn’t always smooth sailing, and you can expect some unforeseen hiccups. For example, when we started this initiative at the beginning of 2020, my intention was to primarily offer these items through Patreon, and then any leftover stock would be sold at convention booths. Then of course, COVID destroyed those plans. In fact, one con that we paid for a table to, just canceled and didn’t offer a refund which was pretty unfortunate.
So my timing starting this idea was probably poor, but thankfully we’ve had a lot of fun with our virtual booth streams twice now this year, and during those streams we made everything available individually like you would at a con! So we’re making the most of it.
And that’s one lesson we want to pass on to you: obstacles will pop up. So, roll with the punches and don’t get discouraged.
A few closing thoughts on the reality of selling merch:
I wouldn’t discourage anyone from trying it out, from seeing your stuff physically, or trying to make a nice little side business out of it. However, just keep in mind how much it takes for this to be a source of full-time income. The amount of people who need to be seeing your work, and converting over into being customers, especially repeat customers, needs to be substantial.
For me, I’m working with a fairly large Youtube channel and decently sized Instagram audience, [unless you go follow me there, than it won’t be so li’l anymore now will it] so it’s doing pretty well. But remember that in general: only 1-5% of people that follow you online are actually going to buy something from you.
If you have 100 people following you, a few friends and family that want to support you, you may only get 5 or so sales out of that. But that is a great place to start out! Nothing wrong with that! I just don’t want you to think you’ll be able to pay your rent, month one with sales of things like this.
Try not to make just what you want to make. If you’re trying to make a good product, you have to think about why someone would want this, and want this enough to spend money on it. So if it’s a sticker, it’s giving your customer an identity marker, right? This means they’ll possibly stick it on their phone, laptop, skateboard, etc. So, thinking about the end use and goal can help you decide what to make.
And it might be about a curated aesthetic! Personally, I think I’ve honed down a certain look and vibe to my art merch, and that’s something that people want art of. Not everyone necessarily. But a certain niche of people.
And, if you’re interested in doing a subscription package thing like me, please remember that I’m crazy, you do not have to do 4 products a month. It is a lot of work, and it might seem easy at first but you have to keep that pace up with every month.
So that’s just a little look into how we’re doing things here as well as some thoughts on merch in general!
How about you? What character of yours could you see as a sticker on your Hydroflask? Or as a collectible trading card? Let me know in the comments below, I’d love to hear more about your character merch concepts!
And if you’d like to get Biko’s Backpack for yourself, check out the “Biko’s Backpack” tier over on Patreon and get this month’s backpack now. You can also grab previous backpacks right here, by visiting the Shop.
Thank you for reading and have fun creating!

Hey! I’m Brookes Eggleston…
If you’re new here, welcome! I’ve worked in studio settings and in a freelance capacity as a Character Designer, Illustrator, Story Artist, and 3D Modeler for nearly 15 years. But what I love as much as drawing characters is sharing what I’ve learned. Get to know my mission here at Character Design Forge.
Follow me on social media:
Want to perfect your character design concepts before you turn them into merchandise? Take the Learn Character Design Course and master the six pillars of iconic character design!