The head, the face, facial expressions, all get a lot of our attention when it comes to drawing characters. But it might mean that we neglect the body as a way to introduce interesting and dynamic shapes and designs.
This lesson is meant to equip you with a better, practical understanding of the body, and how to build your body drawing skills!
Watch the latest video here!:
The head, the face, facial expressions, all get a lot of our attention when it comes to drawing characters. So much so, that sometimes might finish our head that we’re super proud of and then… yeah the body’s down there somewhere.

Coming up around the 2010 era of webcomics, you’d have a lot of characters that were carbon copies of each other structurally, and the only difference between them would be hairstyle, and what logo was on their cylindrical bodies.
It might seem intimidating to learn how to draw bodies, especially when confronted with YIKES— I have to learn muscle names and stuff? But there’s actually a much simpler means of learning to draw and design bodies, that not only help you to add variety to your character’s body shapes and sizes, but also actually help you make more interesting and dynamic poses.
The body, on humans, and really most creatures, is made up of a few distinct parts. We can break them down, from a structural standpoint, to the Spine, the Ribcage, and the Pelvis.

Now we also have organs, and muscles, and skin, but the main constructs are these 3 things. Why? Because these are bones, and especially the rib cage and pelvis, can’t change shape. They’re rigid. Here’s a way to help understand that.
This is a sock:

Think of it like skin. You can roll it up, bend it around, maybe stretch it as far as it can go, and there’s nothing really stopping it.
These are two apples:

Now of course you can crush or cut or bite into these, but as they are, they’re rigid bodies, they aren’t really moving.
Now, we add these two apples to the sock, and we have our body:

They can move and twist, the sock takes their shape and fills in the gaps in between, and it can stretch a little bit.
As far as structure goes, this is our starting point with the body. With more realistic humans, these apples are the ribs and pelvis, but even when you’re creating something very simple, like a cartoon character, the sort of Bean shape that we build still benefits from having two structures within it that are influencing it, even though it’s super stylized.
How do we draw these things though? We want to start as simple as we can. There are two forces at work, anytime we are trying to draw characters, and get better. They are Gesture and Construction.
Construction is the accurate, dimensional, rigid structures, adding dimension to something flat.
Gesture is about the flow, energy, and general curvature to our drawing.
We need both. Without gesture, our work is stiff and rigid, and without construction, we lose accuracy, depth, and things being the right size compared to one another. We’ll use both within this exercise.
first of all, our spine is naturally curved. Now we could go through the effort of drawing each individual piece of the spinal column, building it out as a 3D shape, but the more practical thing for us to do, is just create an S shaped line to indicate the spine.
The spine starts in the neck, and it meets the ribs and pelvis in the back. We can get as complicated and accurate as we want drawing these, but we can use simple boxes to draw them, or even, go a step simpler.

See as far as these two pieces are relevant to the rest of the body, the shoulders that connect to the arms, and the hip joints that connect to the legs, are the points that are most important to us. Since those can’t change, they can rotate, but their position is always the same, we can just use a straight line to indicate where they are on the body.
With these 3 lines, we have something that we can build a gestural drawing from, a figure drawing. From here, we can add the head, the arms, and legs.

If these lines are parallel to each other, it’s like you’re standing straight up and down. But if in person, you try to rotate your body, your shoulders can twist all the way one direction, your pelvis can twist too to a point, and you can also bend either sideways, or frontwards and backwards, a little.
So as an exercise, make a pose that you’d like to draw. Act it out in person, maybe take a photo in the mirror, or have someone else take a photo of you. And then, try and figure out how to draw that with our simple shapes here. Acting out what you want your characters to do is a really helpful way to intuit the drawing, and you’re also able to very quickly find out whether or not a pose is possible.
From here, you can add lines for the arms and hands, try and balance the character, but this origin point of the body is super strong.
When it comes to stylizing, even with realistic humans we have a ton of variety with sizes, proportion, muscle, fat, and we can create interesting silhouettes just from accurate real people. But we can ALSO use gesture to start with overall shapes, and inform the body from there. I think it goes without saying that, having a cast of characters that are all sort of unique from each other in terms of body, is a lot more interesting than a set of gamer-shirt-bowling-pin-cylinder-people.
One thing that I talked about in my Draw Better Bodies series (which, FYI is very old at this point) was starting with heads in a line, all the same size, but at different positions off the ground.

This inherently changes the height of the characters, but it also changes their proportions, and filling in these spaces with different weights and shapes of characters, in addition to height, is a great exercise not just in drawing better bodies, but in character design in general.
We go in to all of the concepts in this video more in-depth in the Learn Character Design Course, which has recently been completely remade, and covers all things drawing, design, and story. People have been asking, “Hey! Can you take the course if you don’t know how to draw yet?” And the answer is absolutely yes. It’s made so that someone who’s never drawn can start at the beginning and gain confidence in their drawing ability through some fundamental skills.
When it comes to understanding body shape and proportions, this post was just the beginning. Module four in the six-part Learn Character Design Course covers body language, pose and expression in full detail. Learn in-depth techniques not yet covered and start your journey to superb character design:
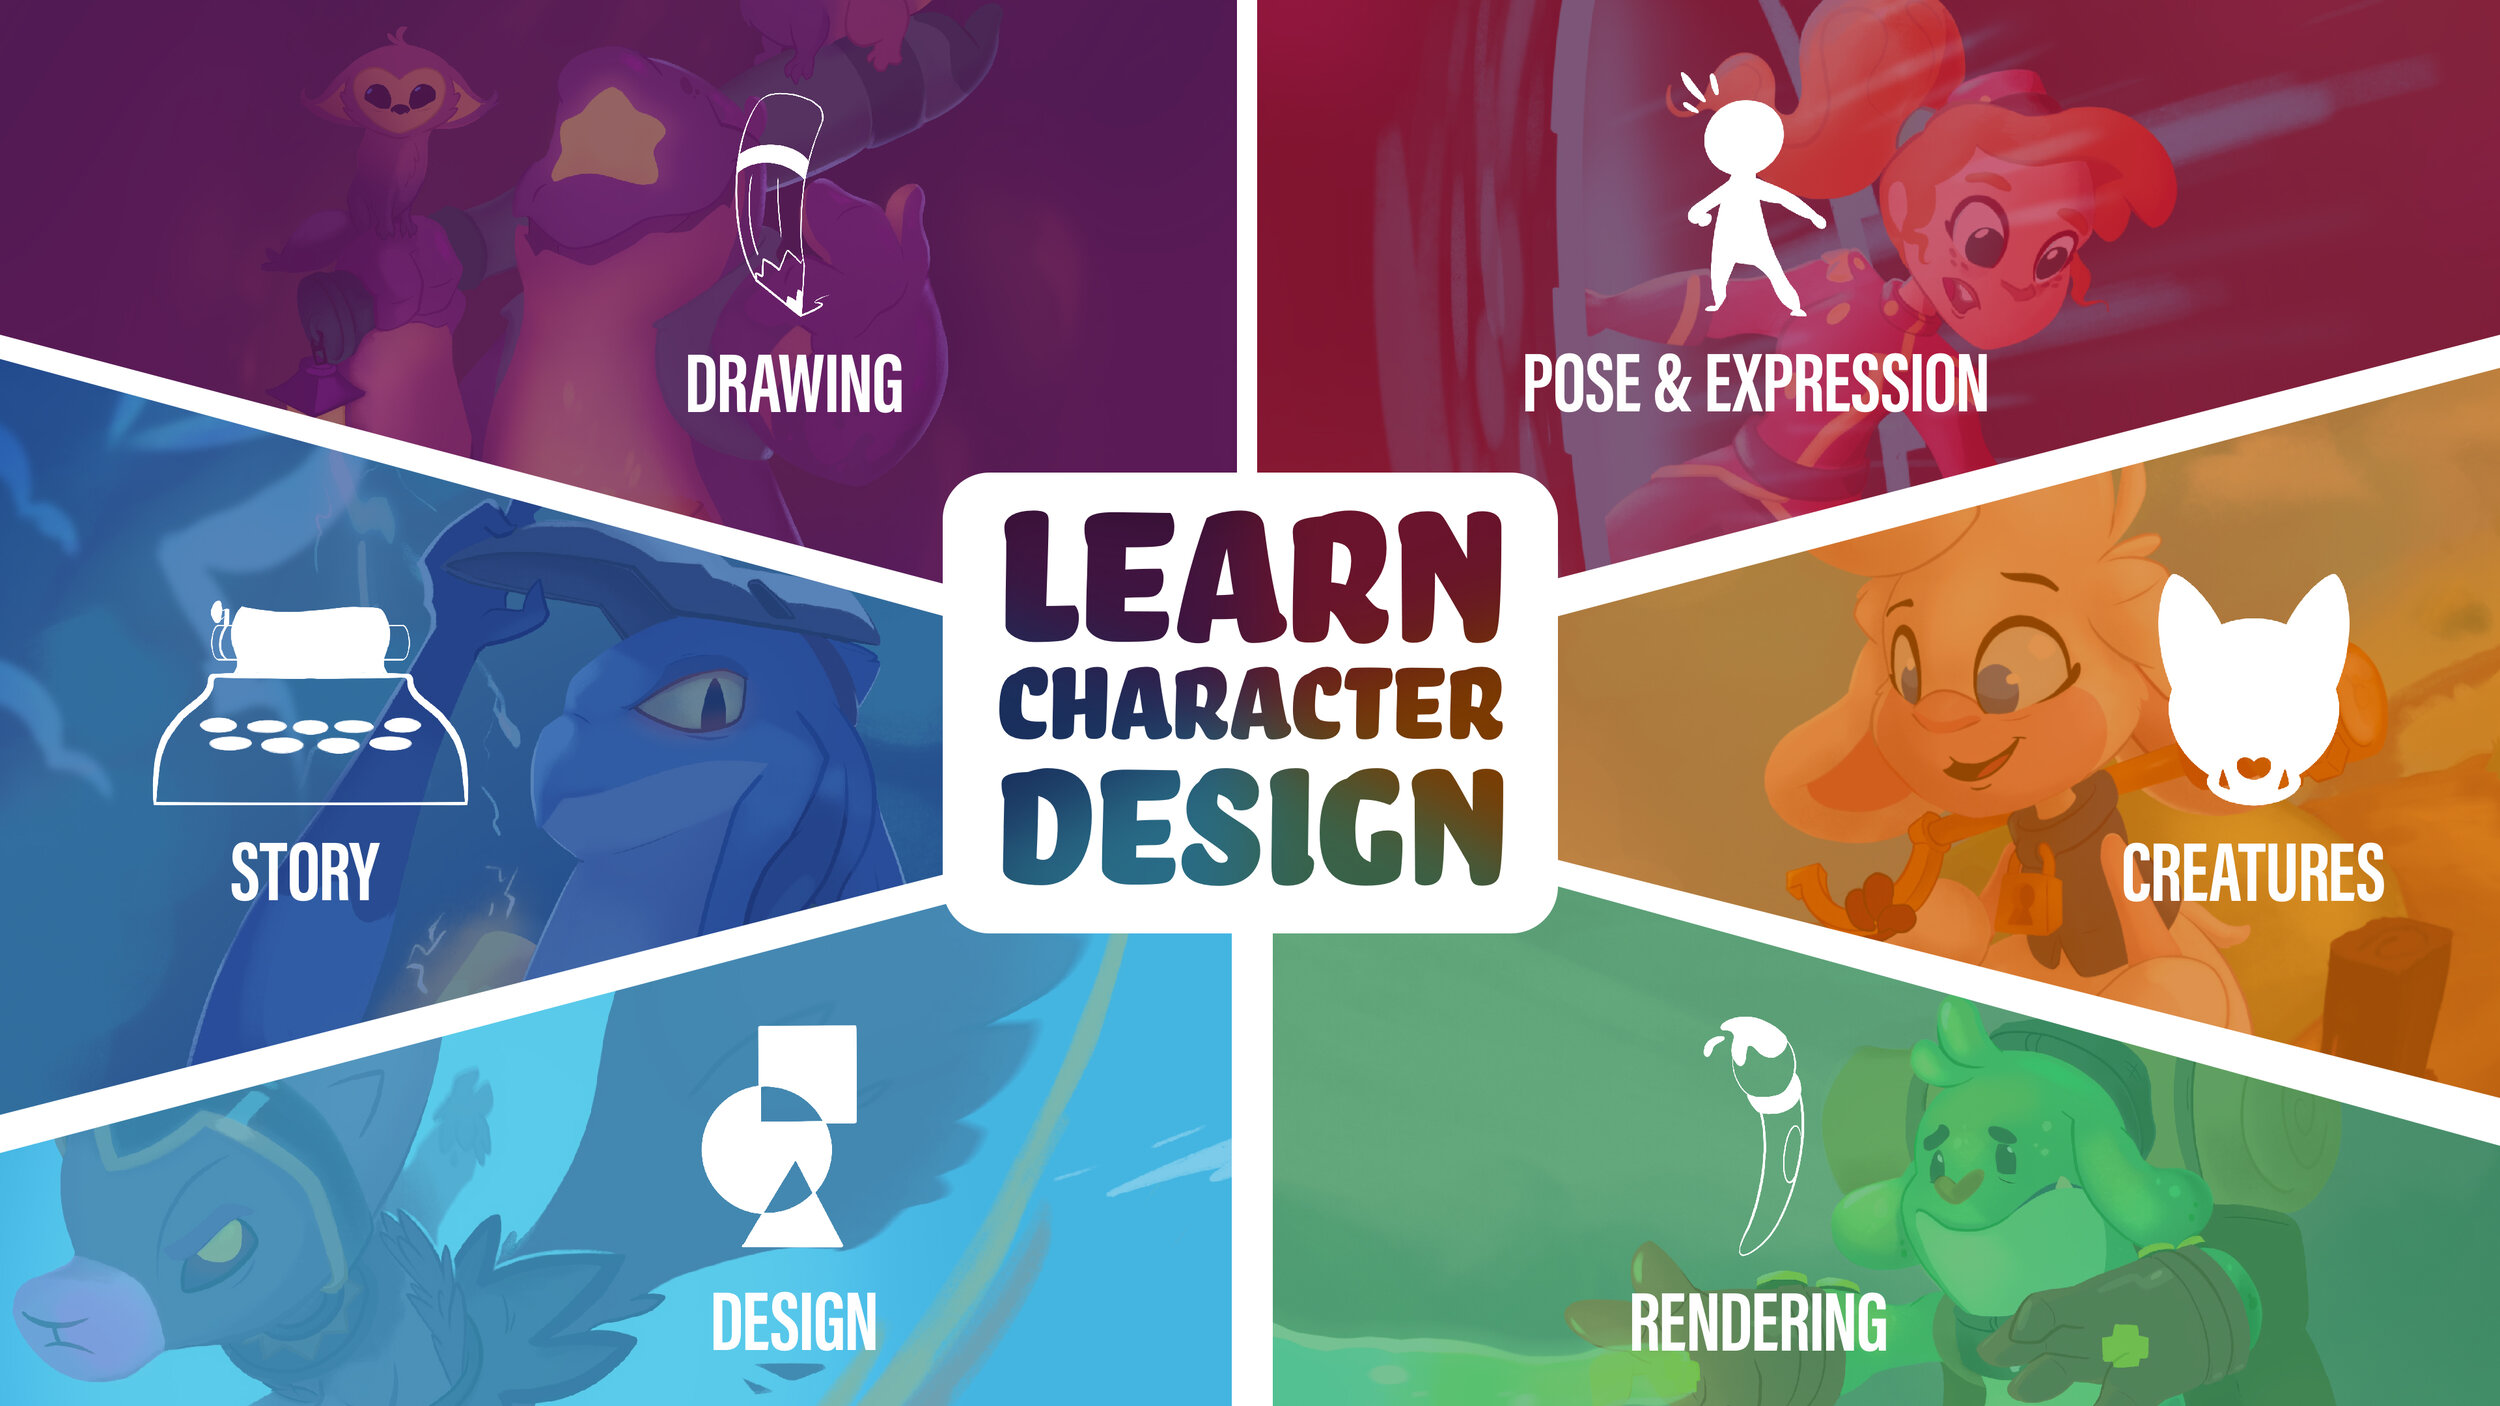
Click to learn more about the character design course!

Hey! I’m Brookes Eggleston…
If you’re new here, welcome! I’ve worked in studio settings and in a freelance capacity as a Character Designer, Illustrator, Story Artist, and 3D Modeler for nearly 15 years. But what I love as much as drawing characters is sharing what I’ve learned. Get to know my mission here at Character Design Forge.
Follow me on social media:

Biko’s Backpack JUNE
Feather & Quill!
A NEW Biko's Backpack for June, Feather & Quill, is now available on http://patreon.com/bageldenizen
Be sure to check it out and grab yourself some sweet, original art merchandise!